- Total 0 SEK


An Atomizer / Tank is an important part of both taste and smoke production. There are several types of "tank". RDA (Rebuildable Dripping Atomizer) - An Atomizer where you assemble a coil, attach it to the system, and add cotton. RDA has no tank, E-juice is dropped directly on the coil (called a dripper). The RDA usually produces large clouds. RTA (Rebuildable Tank Atomizer) - An RTA works just like an RDA (you assemble a coil, attach it to the system and add cotton in the same way). The difference is that it is not one it has a tank, which means you do not have to drip E-juice all the time.
-

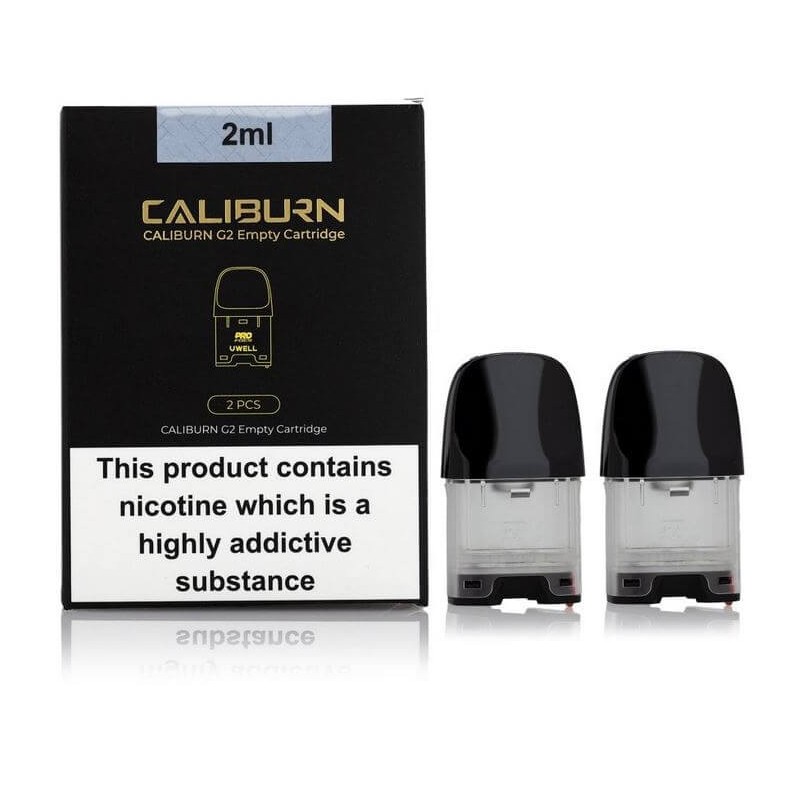
Uwell Caliburn G2 Cartridge
2ml
G200034
79 SEK / pc.- Stock status
- Sold out
-
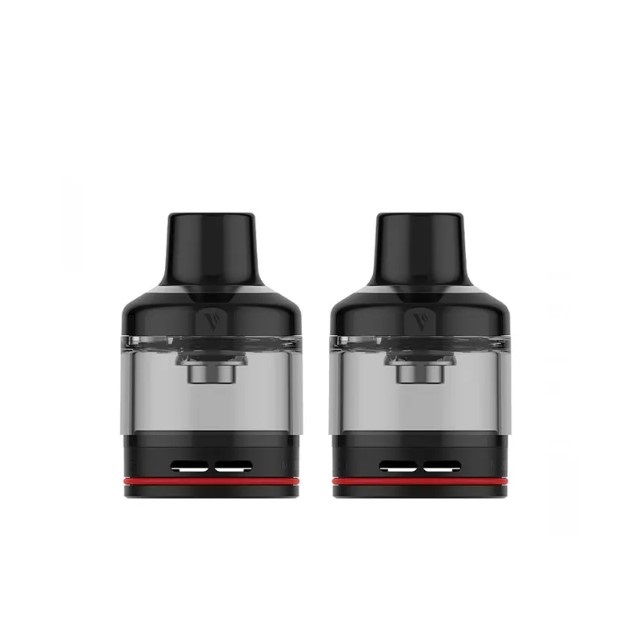
Vaporesso GTX | POD 26
5 ml GTX Pod
SV-POD_1038
95 SEK / pc.- Stock status
- In stock
-
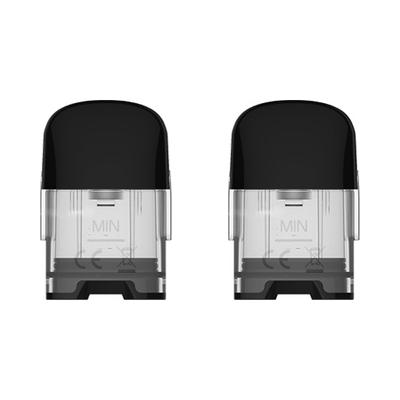
UWELL CALIBURN G Pod Cartridge
Pod Cartridge (2 ml - 2 st)
U-C-002
55 SEK / pc.- Stock status
- Sold out
-
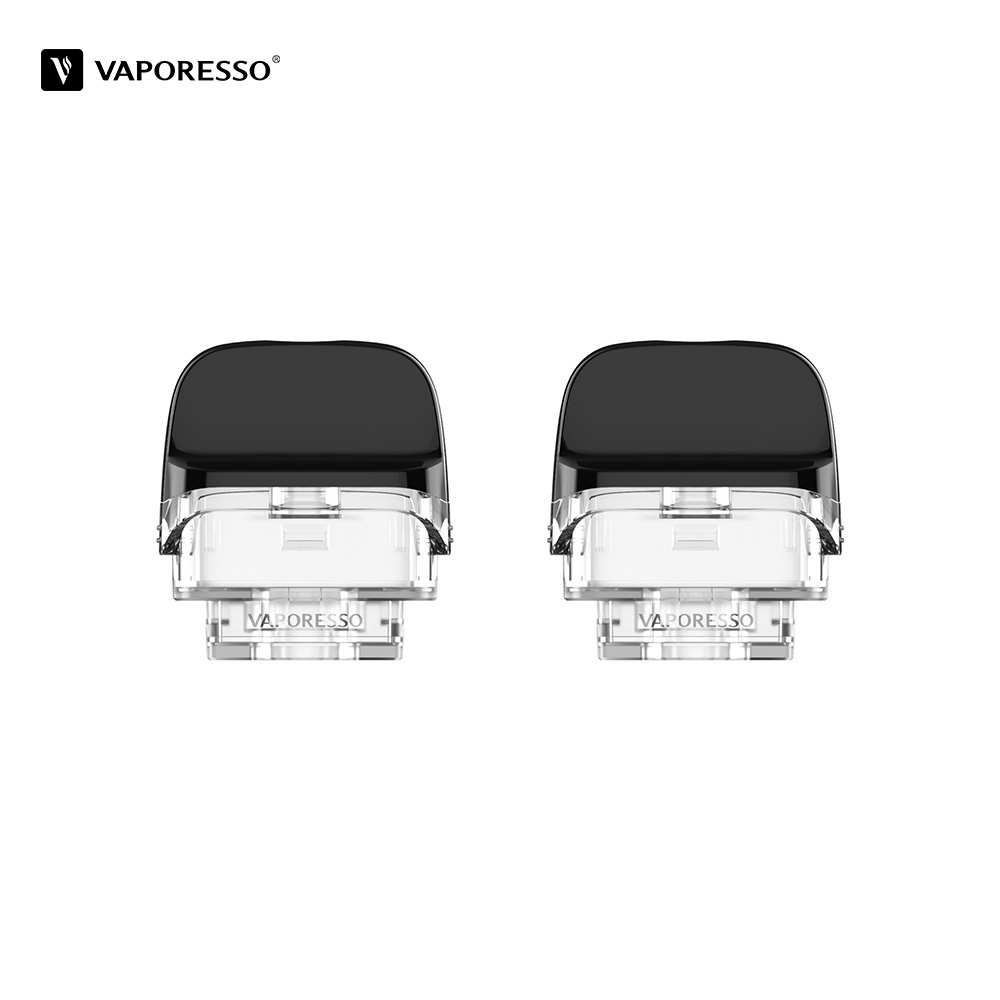
Vaporesso LUXE PM40 Cartridge
Cartridge RDL 2 ml
V-PM40-002
69 SEK / pc.- Stock status
- In stock
-
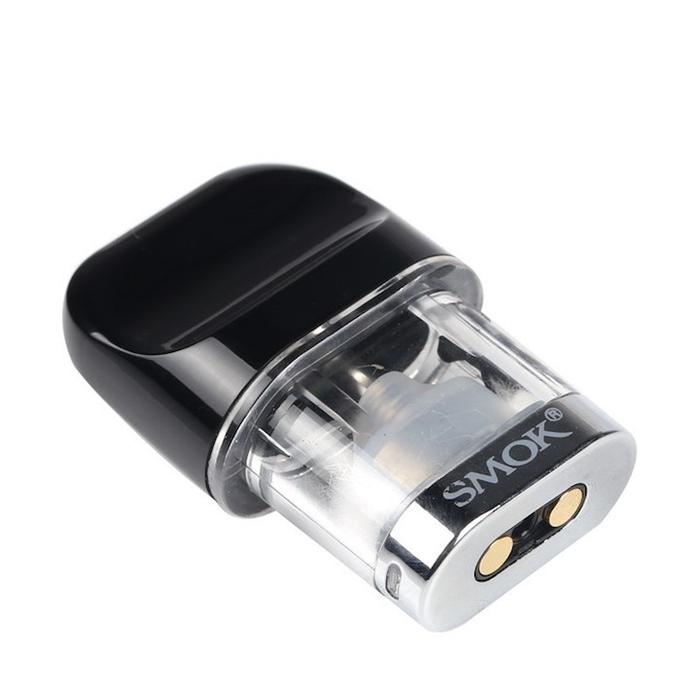
Smok Novo Cartridge 1,5 ohm (2ml)
Smok Novo Cartridge 1,5 ohm (2ml)
T-S.XBABY-003_B-3
39 SEK / pc.- Stock status
- In stock
-
Tigertek springer x rda
Tigertek springer x rda
TRDA059_RBW
263 SEK / pc.- Stock status
- In stock
-
Monstruito Flying Saucer V2 RDA
Coil Master Monstruito Flying Saucer V2 RDA
CM00130
238 SEK / pc.- Stock status
- Sold out

Sub-ohm Tank - Is the most common tank that comes with a starter kit, which uses ready-made coils. (resistors lower than 1 ohm, in most cases) RDTA (Rebuildable Dripping Tank Atomizer) - Has the properties of RDA and RTA. There A tire that normally sits above the tank, usually for one or two coils (sometimes more).
The Difference Between RDA and RDTA - An RDTA is like an RDA that has a tank. Instead of manually dripping on the coil as in an RDA, the RDTA has a tank section for storing extra juice.
The difference between RTA and RDTA - An RTA and RDTA are both convertible tanks, but RTA usually has a tire on the bottom of the atomizer. On the other hand, under the top cover, RDTAs normally have an open deck above the tank where the cotton hangs.
Learn, about your Vape Tanks!
Why you should clean your vape tank?
Better tank maintenance gives you the chance of smooth vapor every second. Maintenance in the sense of cleaning the vape tank and this ensure to prevent problems like the flooding of vape tanks or any other problems. A vape tank is the main part of a vape device that holds the e-juice and coil to create the vapor.
Learn how to clean your vape tank, use it, and store it. These are very important parts of your vaping journey although it takes a lot of time to do never underestimate the ability to clean your vape tank because it gives helps you prevent future problems.
Parts of the vape tank.
Mouthpiece
This is where you take in the vapor. There are many variations of the drip tip, it highly depends on your vaping preference. If you prefer not to have an uncomfortable feeling while touching your teeth you best not go with Stainless steel drip tip. Although a glass drip tip is casually better in the sense of being stain proof or heat resistant the same goes for wood drip tips and plastic drip tips. A 510-drip tip adaptor and 810 drip tip adapters are a major piece of the atomizer. They are connected to the ports of the vape tank.
What is the major difference between a drip tip of 510 and 810?
The thread of the 810 drip tip is about 12.5 mm and for 510 it's about 8.5 mm. Both are used for great MTL and DL experiences. When it comes to choosing one, you have to decide if you would like to have a higher cloud production or a better taste of flavor. As a cloud chaser, you would like to consider heat resistant drip tips because of their better wattage. Although if you are just looking for a nice style then stainless steel, wood, and glass drip tips would do you a solid. 810 drip tips are typically great for cloud production because of the width and airflow. If you improve your vape airflow you tend to get better cloud production and the last thing to consider is the higher wattage for more clouds. Although if you are really invested in the betterment of flavor. Then you can’t go wrong with a 510-drip tip.
The glass tube of the vape tank.
This is the cover, hanging from the top with the threads between the bottom made from glass or other materials. Inside the area is where you put the e-juice and it's see-through because you want to be able to see how much liquid is put in.
Base and top caps
The glass tube has pieces of metal at the end of the tube because it helps it connect to the mod. These are base and top cap which connects the drip and tube and glass tube and coil and thread and airflow control ring altogether. Make the vape tank.
In order for the tanks to prevent e-juice to go towards the mouthpiece, it's necessary to have a center tube because it allows the e-juice to produce more vapor.
The rubber washers close the sides of the top and bottom caps is called the O-ring.
A vape coil is the main part of buying a vape tank. The coil is responsible for heating the e-liquid and vaporizing it.
Vape Atomizers
Atomizer so many different types you can find from RDA, RTA, and RDTA. But what does it all mean all these parts are depending on your mods and vaporizers. Let’s walk through the different types and see which one is best for your vape lifestyle.
Throughout your, vape journey it can be confusing on you require as a vapor. Not only you as a beginner but people who have been vaping for decades still don’t have much knowledge about vape atomizers. We have made it easy for you to understand the major difference.
How set up a tank in 5 steps?
- Dismantle the tank. This is done by unscrewing the airflow base. Take the out coil from inside.
- Place a drop of e-juice in each hole of the coil. Unscrew, the top part or if you have it on the bottom and place the e-liquid with a dropper. (wicking the material)
- The tank requires E-liquid. Unscrew the top cap. A hole on the tank appears when you slide it to put the e-juice. Fill up the tank until it reaches the limit with a horizontal mark.
- Put together your vaporizer, by screwing back the top cap and also the coil part.
- Give it three minutes before you use the vape device to let it saturate then you are ready to vape.
How to prime the tank?
To avoid dry hits or burnt scratchy taste. So, you can get the good flavor right off the bat. You have to prime your coils in your tank. The significance of not priming your coil will give you a taste like burning paper which also has a nasty smell. So, read carefully even though it's pretty simple to do it so you can avoid the bad taste. You have to make sure the cotton is fully saturated. fill your tank up with e-juice and let the tank simmer for 5 to 30 minutes. Then you can soak the cotton with e-juice from the atomizer head. Better to do it from all the opening in the atomizer. Once the juice is just piled up on the cotton then you know it's fully saturated.
After you have left it for priming. It's important to inhale or take puffs without firing up the device or powering it on. E-liquid ingredients show, how long you should prime your coils.
What is an RBA?
Within the RBA category, you have 3 different types of RDA, RTA, and RDTA. Re-Buildable Atomizer is an RBA. You as a vapor have your own preference which differs from another person. So it comes down to two things flavor or cloud production, what you want more you can get an RBA that suits your need.
RBA is better because it gives you the chance to optimize your vape tank with your needs. The type of coils you can pick inside of premade coils are really expensive. Create your own coils and your own cool designs and choose the wiring for the coils. But if you buy premade coils you are limited to manufacturers' needs.
Take a deep dive into the RBA’S.
RDA: It stands for Rebuildable Dripping Atomizer it's designed for you to put e-juice to the coils each time you want to vape instead of a coil placed inside a tank. The adv over buying an RDA is that you get massive cloud production and good flavor but get ready to carry your e-juice with you everywhere you go because you notice that your wicks are dry and it needs e-juice on them. The mouthpiece is located right on top of the coils. For every 4 hits, you may need to drip the e-juice on the coils. If your RDA is properly cleaned it will last you months. You have to make sure to wick the material once a week and clean your coils.
RTA: Rebuildable tank atomizers. RTAs are purely designed with a build deck that has coils sitting on top of it. Most RTA is different in design, but the similarity is the part that has a chamber or chimney placed on top of the coil. E-juice is sucked through the chimney to the wicking materials. So, unlike the RDA, you don’t have to constantly drip juice whenever you need to vape. Although the drawback is leaking. Make sure to wick your RTA correctly, in order to avoid the leaking problem.
RDTA:
No need to get confused, it's called Rebuildable Dripping Tank Atomizer. Think of RDA on top of a tank. If you look at the build deck, it is moved from the bottom of the atomizer to the top. RDA and RDTA are similar when it comes to building them the only difference is the wicking material is not located under the coil. Its located under the juice reservoir. When you are vaping the e-liquid will get absorbed by the wicks then onto your coils. It works well with e-juice because the reservoir is on the bottom, so it will not leak. Airflow is at the top of the atomizer.
After understanding the three different types of RBA’s. To help you decide on without going through a lot of stress. We will take a look at the most common question about RBA’s.
For RDA!
Top airflow gives you a cool vape. Bottom airflow gives you a warm vape. Coils are chosen by the size of your build deck and how much cloud you want to produce. A mod for an RDA is a decision you should make on your experience in vaping, think about the price range, how powerful the mod is.
For RTA!
In RTA lookout for the capacity of the tank. The airflow can be on the top, side, and bottom. In terms of the mod as a wall.
For RDTA!
It's annoying to find out all the time your RDTA is leaking throughout your bag or pocket. One of the best ways to keep your RDTA straight upright, because if you place or lay it the leakage will start from the bottom or side of the airflow ducts. One other thing you could do is add more wicking that absorbs the e-juice and will not drain through the holes.
Conclude the RBA’s.
At the end of the day, the decision is you make depends on your preference. Look at it like what are you looking for in your vaping journey. If you really enjoy it then it best to invest in high-quality tanks and RBAs.
How to Fix a Leaking Vape Tank!
You are vaping on your favorite e-juice then suddenly you get juice coming out of your vape tank. Let’s cover the basics of why your tank leaks and how to fix it.
The reason for full-on leaking. The most common is an unsealed coil. A coil has o rings that are supposed to seal the bottom of the coil. Hence it keeps the juice from spilling out. Check the o ring if has been damaged or it's missing this could be the problem behind your leakage. Another reason could be how is your tank mantled together. Sometimes you can assembly your tank without properly closing it off.
In order to fix it. First of all, you must check two things about your coil. One is if it's seated properly and the other is if it's screwed in its place. Make sure your o ring is there and not damaged. Also, vape in the recommended wattage range. Another thing that makes sure there are no cracks on your vape tank.
How to get more flavor from your vape tank?
Watts are very important for example if you are recommended to use 65 to 80 watts. Stay on 75 to 80 this gives you better flavor. And make sure to read the manufactures guideline. Two key principles remember the more resistance in the airflow the better flavor you get. The less resistance in the airflow the lesser flavor you get.
Top brand for vape tanks in 2020.
If you ever have to get a tank then you should consider one of these brands.
- Uwell Crown 4
- FreeMax FireLuke 2 Sub-Ohm Tank
- Uwell Nunchaku
- Innokin Zenith
- Uwell Valyrian
- Aspire Nautilus 2
- Kanger Toptank Mini
- ASPIRE TIGON
- VAPORESSO VM 22
- -NNOKIN ZLIDE
- GEEK VAPE ALPHA
- HORIZON FALCON II