- Total 0 SEK


On this page, we offer you so many different types of coils. We sell the cheapest coils in Sweden. On the left panel, you can sort out the coil types. Depending on your coil style, you can find it by its size, version, coil type and pod type. We have made it easy for you to find it in your price range. In the price range bar, you can slide it to your appropriate price. You are most welcome to contact us at kundservice@swedenvapes.se if you need any sort of help.
If you scroll down, you can check out the blog!
-

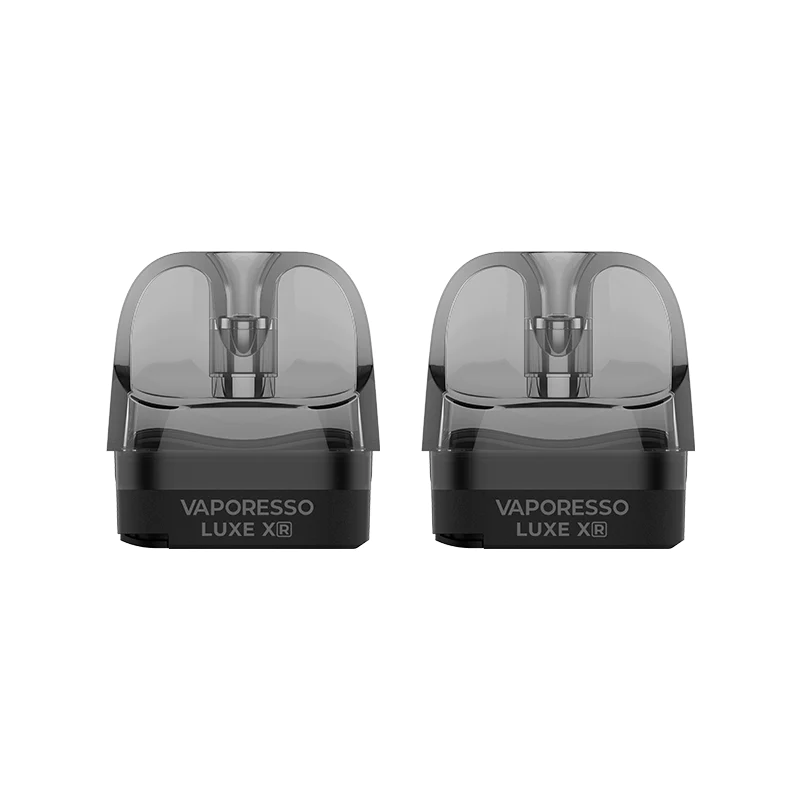
Vaporesso LUXE XR Empty Pod (2 Pack)
COILS-106_RDL
75 SEK / pc.- Stock status
- In stock
-
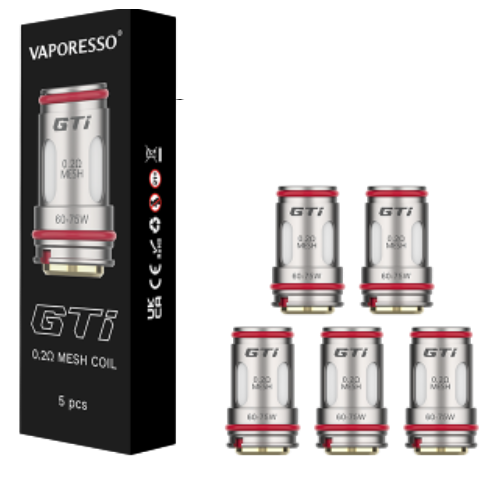
Vaporesso GTi Coils
Vaporesso GTi Coils i 5-pack
COIL-105_0.4MESH
175 SEK / pc.- Stock status
- Sold out
-
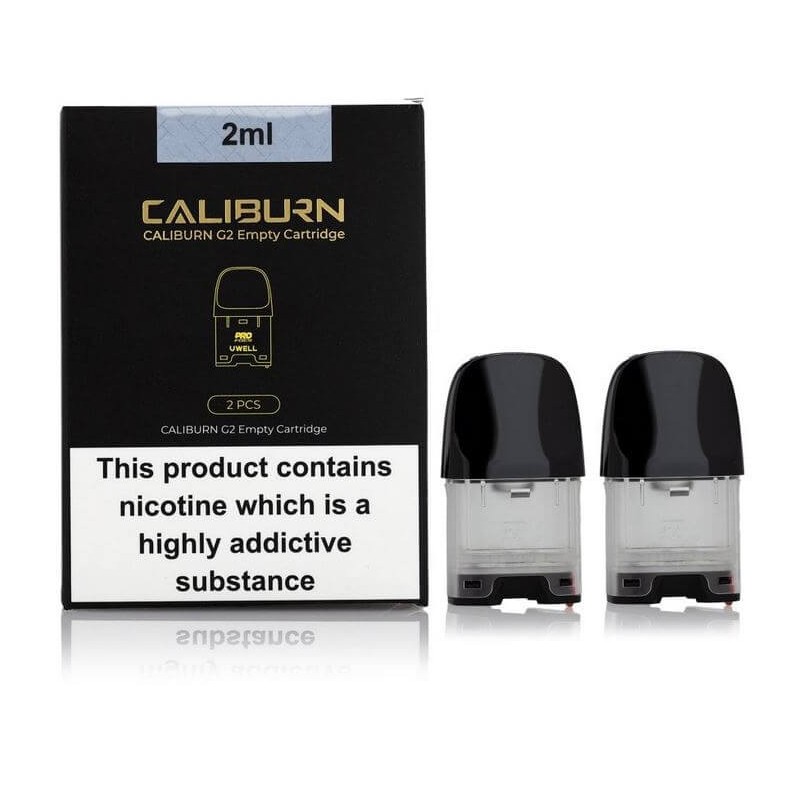
Uwell Caliburn G2 Cartridge
2ml
G200034
79 SEK / pc.- Stock status
- Sold out
-
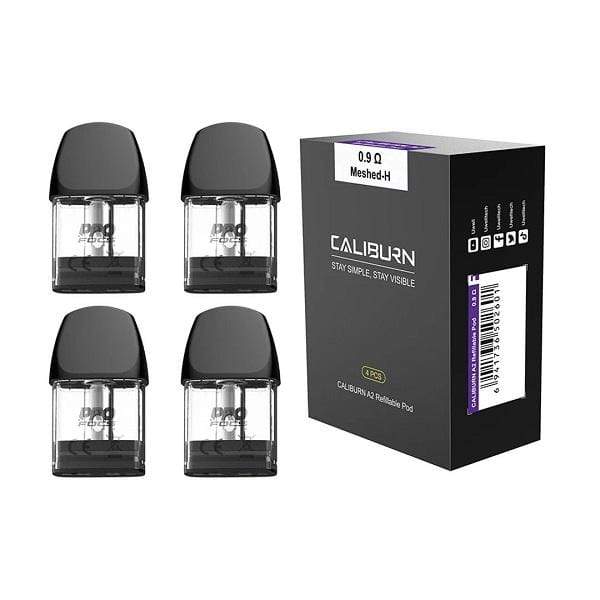
Uwell Caliburn A2| POD
Ersättningspods | (4-pack, 2 ml)
SV-POD_1037
159 SEK / pc.- Stock status
- Sold out
-
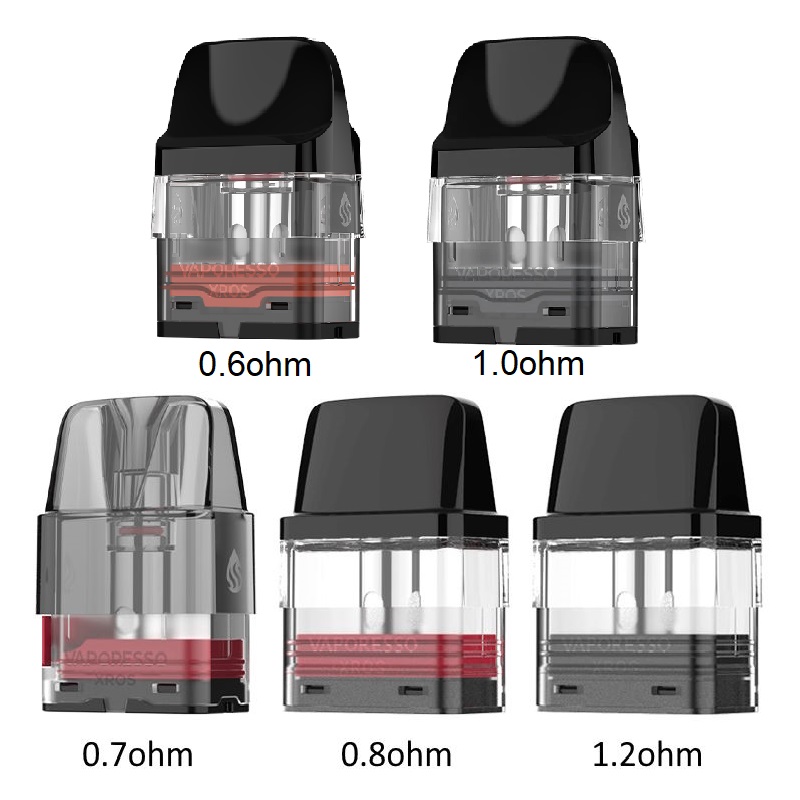
Vaporesso XROS | POD
Ersättningspods | (4-pack, 2 ml)
SV-POD_1036_0.6
149 SEK / pc.- Stock status
- Sold out
-
Vaporesso OSMALL Pod
Ersättningspods | (2-pack, 2 ml)
SV-POD_1034
59 SEK / pc.- Stock status
- Sold out
-
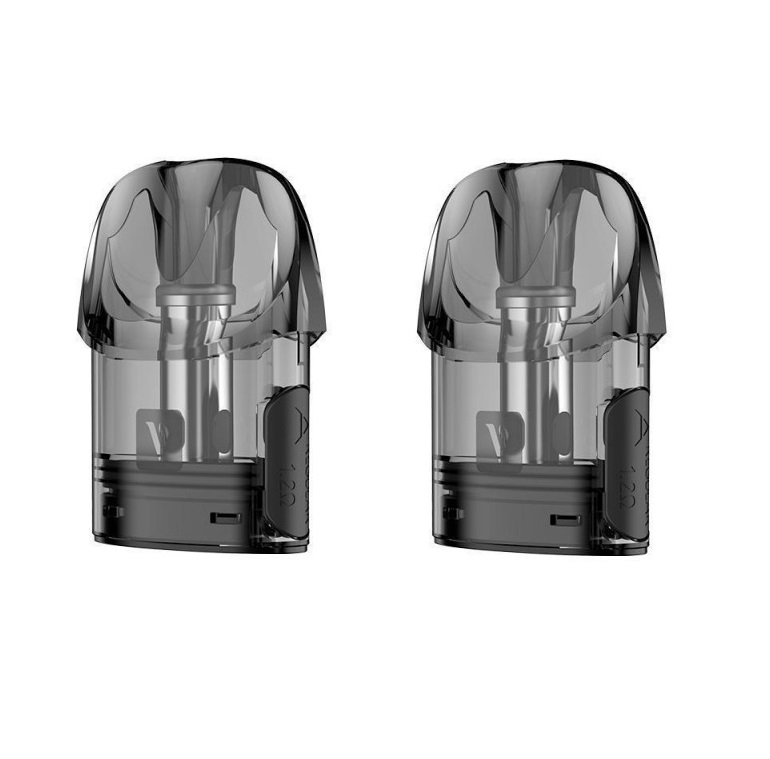
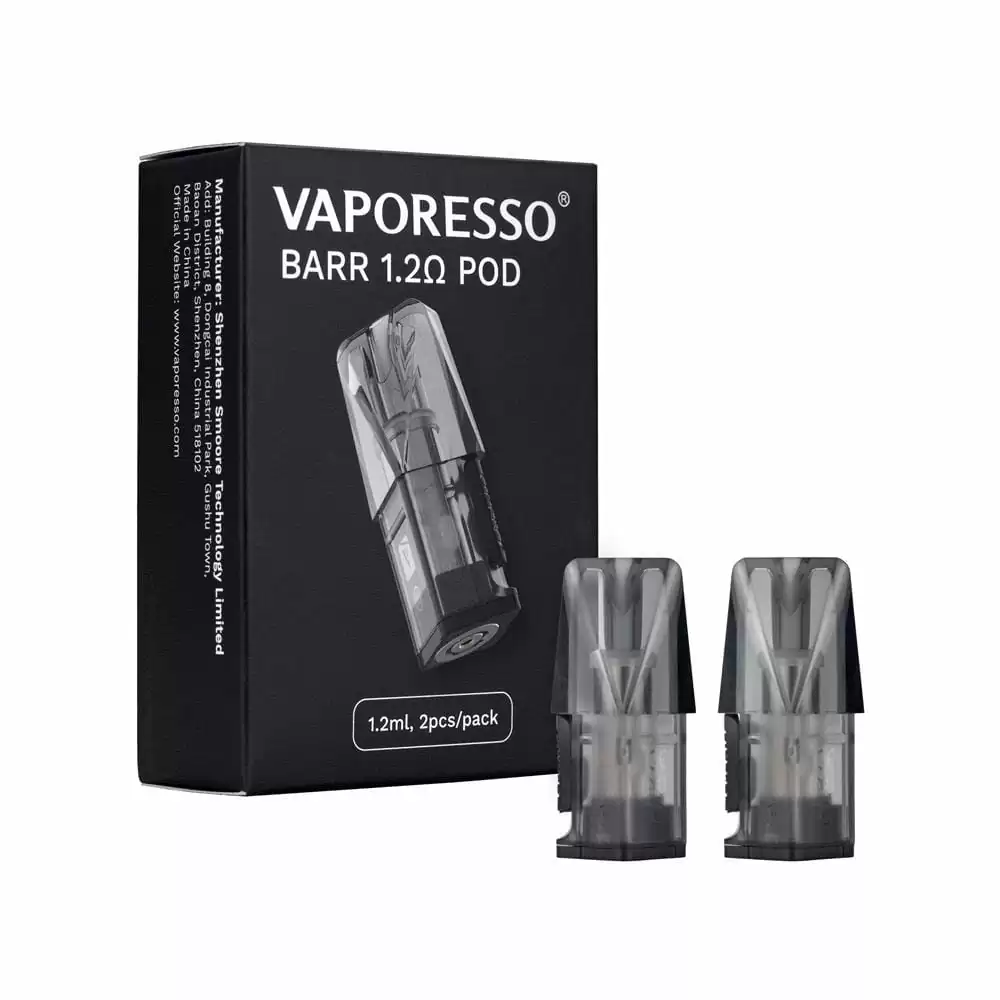
Vaporesso BARR Pod
Ersättningspods | (2-pack, 1,2 ml)
SV-POD_1033
59 SEK / pc.- Stock status
- Sold out
-
UWELL CARLIBRURN G
Caliburn Utbytescoils
U-C-003_1.2UN2
30 SEK / pc.- Stock status
- In stock
-
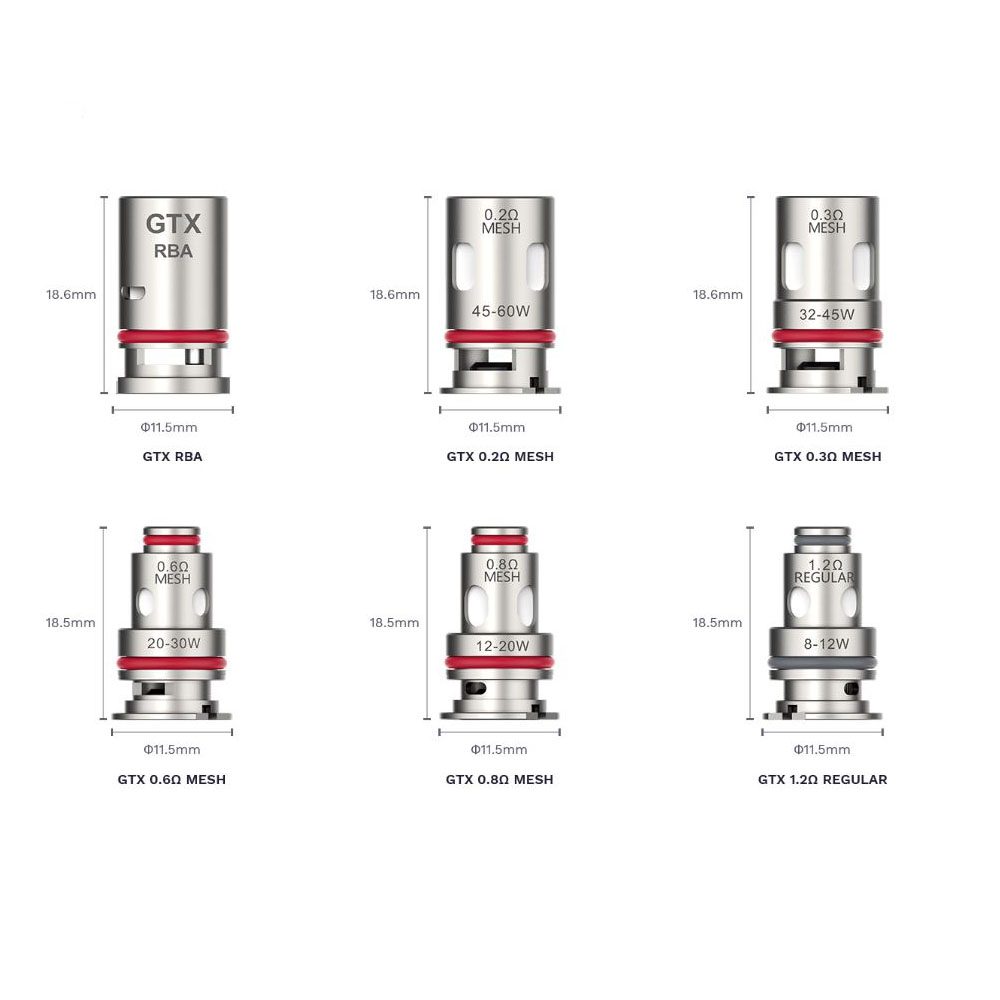
Vaporesso GTX
Coils GTX / GTX-2
V-G-001_0.8
31 SEK / pc.- Stock status
- Sold out
-
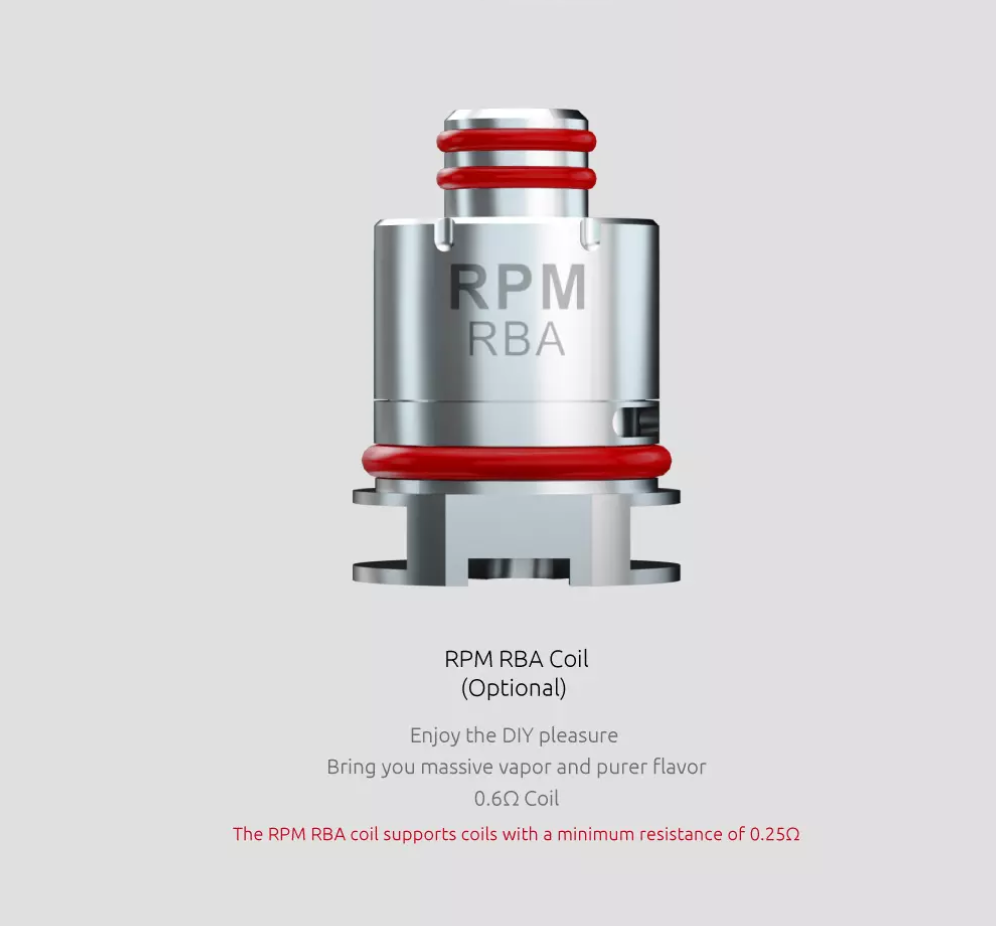
Smok RPM Coils & RBA
Smok RPM Coils & RBA
SRPMC0035_RBA0.6
59 SEK / pc.- Stock status
- In stock
-
Smok Novo Cartridge 1,5 ohm (2ml)
Smok Novo Cartridge 1,5 ohm (2ml)
T-S.XBABY-003_B-3
39 SEK / pc.- Stock status
- In stock
-
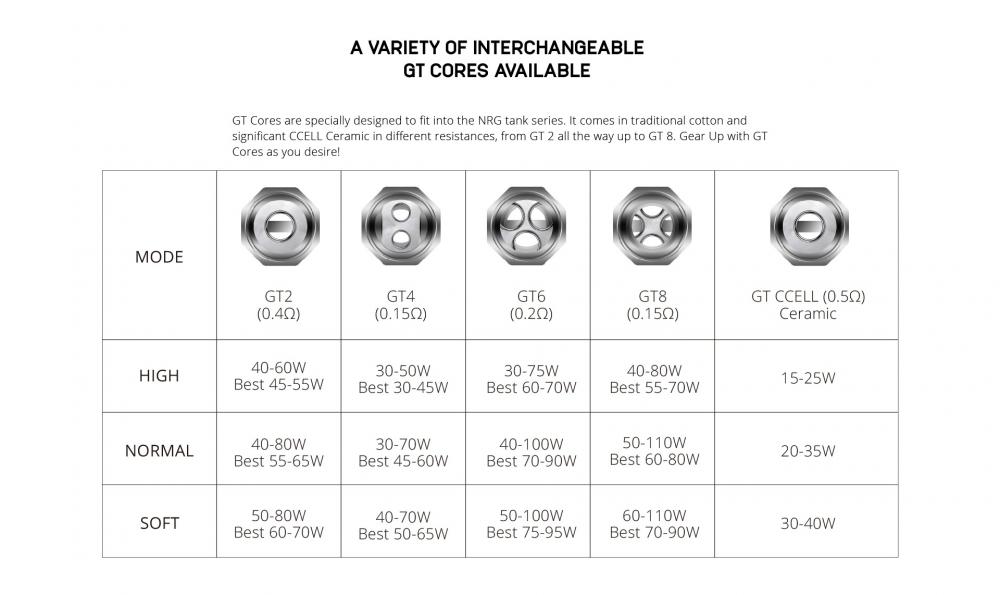
Vaporesso GT Coils
Alla Vaporesso GT Cores-serien av spolar
GT-0002_GT8
34 SEK / pc.- Stock status
- In stock
-
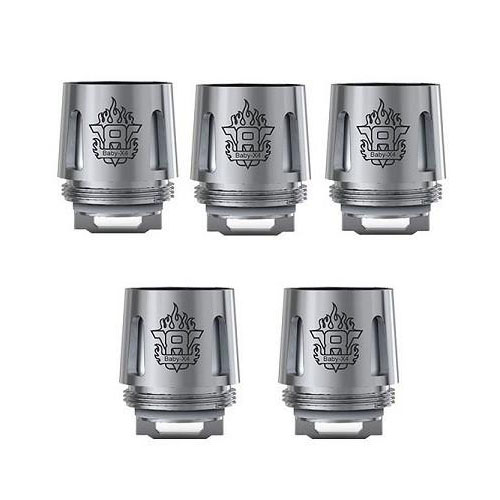
SMOK TFV8 Baby M2
SMOK TFV8 big baby & Baby M2 Replacement Coils
SM00078_0.15
33 SEK / pc.- Stock status
- In stock
-
WS02 Triple 0.25ohm Coil Wismec
WISMEC
WRMINIC005_T0.25
16 SEK / pc.32 SEK / pc.Save 50 %- Stock status
- In stock
-
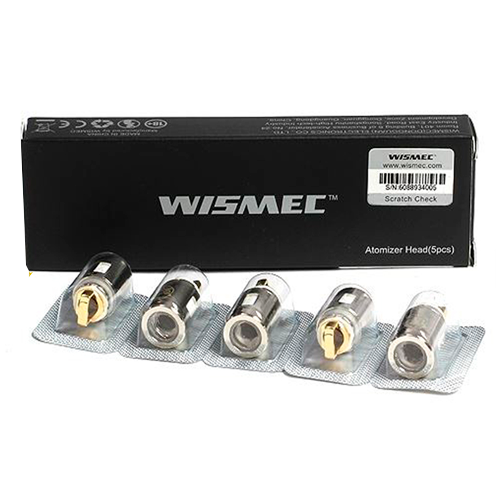
REUX Replacement Coil
Wismec REUX Replacement Coil
WREUXC004_0.15D
25 SEK / pc.42 SEK / pc.Save 40 %- Stock status
- In stock
-
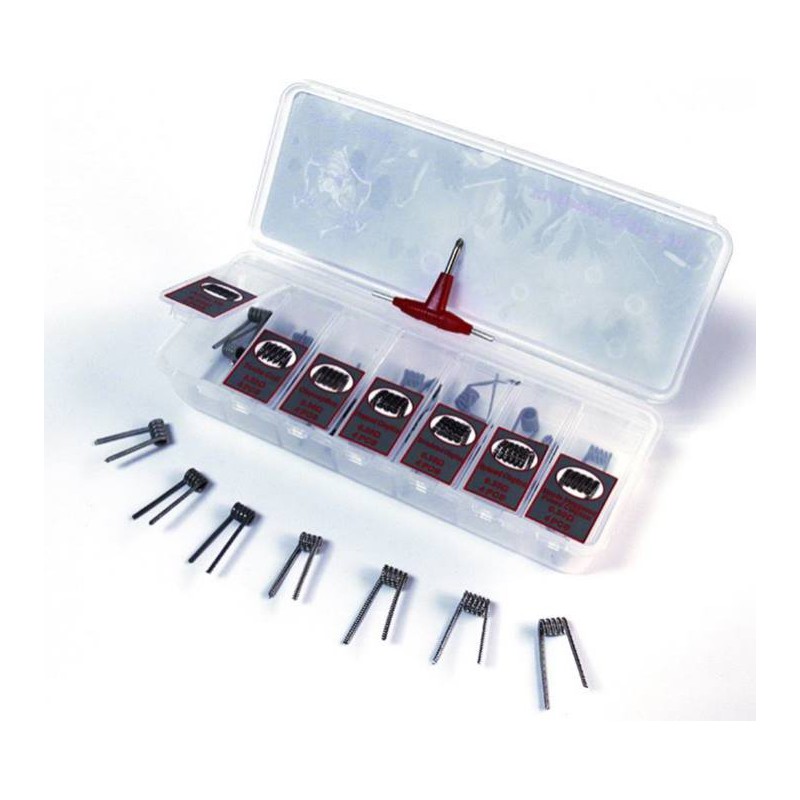
Demon Killer 7 in 1 Violence Coil
Authentic Demon Killer 7-in-1 28 PCS Coil + Allen Key Violence Coil Kit - Silver, Kanthal A1 + 316L Stainless Steel
VCOIL777
165 SEK / pc.- Stock status
- In stock
-
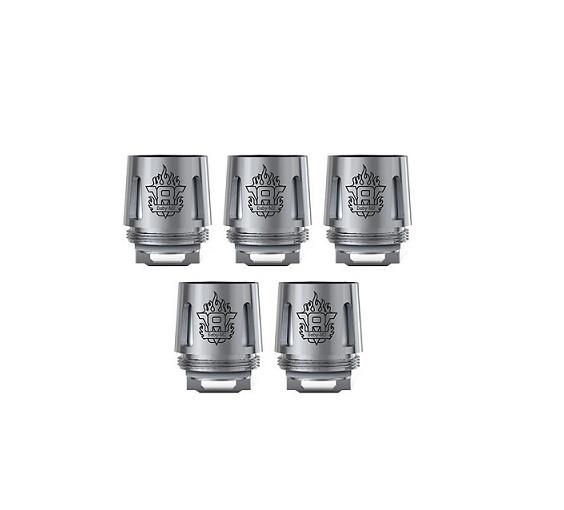
V8 Baby-X4 Core, 0.15ohm
SMOK® V8 Baby-X4 Core, 0.15ohm
SCOILS1114
34 SEK / pc.43 SEK / pc.Save 21 %- Stock status
- In stock
-
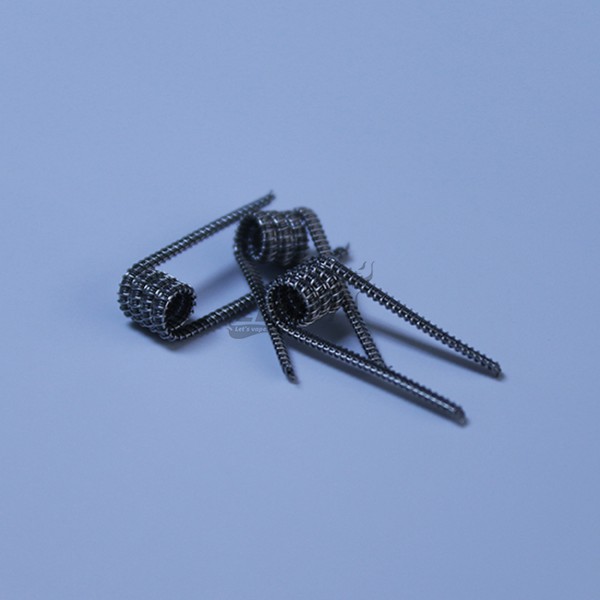
Pre-built Framed Clapton Coil
Demon Killer Violence Coil Pre-built Framed Clapton Coil (10 BOX)
COIL117
55 SEK / pc.- Stock status
- In stock
-
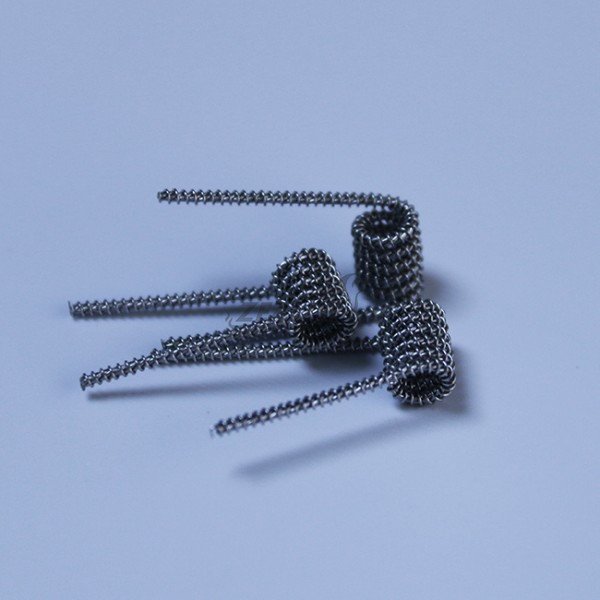
Pre-built Spaced Clapto
Demon Killer Violence Coil Pre-built Spaced Clapton Coil (10-Box)
COIL114
55 SEK / pc.- Stock status
- In stock
-
Pre-built Clapception Coil
Violence Coil Pre-built Clapception Coil (10-Box)
COIL112
55 SEK / pc.- Stock status
- Sold out
-
Eleaf EC Atomizer Head Coil
Eleaf EC Atomizer Head - Kanthal - 0.3ohm & 0.5 ohm
EC0022_0.5
32 SEK / pc.- Stock status
- In stock


EVERYTHING YOU NEED TO KNOW ABOUT COILS FOR YOUR VAPE DEVICE.
As a new vaper, it's really important to understand coils because you can make your whole vaping experience better and smooth. A vape coil is the main part of buying a vape device. The coil is responsible for heating the e-liquid and vaporizing it.
P.S Make sure to check your coils if they are compatible with your tank before you buy them and also at Swedenvapes we have cheap coils!
Tip 1: Which material should you pick for wiring?
For good amounts of vapor production and easy wiring to work it's important to consider Kanthal material is made from aluminum, iron, and chromium, and it's very common to use this material.
Click here for cheap Kanthal wire:
Sub-ohm users use Nichrome wire because of the heavy amount of cloud production and a smooth warm vaping experience. All through Kanthal material is still preferred over Nichrome because it's unstable for temperature control vaping.
When it comes to low resistance vaping and using temperature control mods it's preferred to stick with Nickel wire.
Stainless steel has proven to be tough which means it's long-lasting and you use it with temperature control mods or wattage mods.
Check out Stainless steel!
The Sub-Ohm Coil.
Bigger clouds but dry hits, the drawback is you will use up your e-juice quickly and vape at a higher wattage than usual.
Click here forNichrome wire!
Types of coils and their benefits.
- Standard Coils: Just a normal coil.
- Vertical Coils Great for wicking and airflow.
- Dual Coils: Reduces resistance so making higher wattage possible.
- Parallel Coils: One wick can be used for both coils.
- Clapton coils: Improves vapor production and flavor.
- Twisted Coils: Improves vapor production and flavor.
- Tiger coils: Good vapor Production
Tip 2: Which type of vape coil suits your needs?
If you are looking for better cloud production is important to go with a coil that has a resistance of less than 1.0 ohm and vice versa.
You need to understand ohms.
It's simple, you don’t need to be a scientist to understand this.
Let’s take deep dive towards OHMS.
OHM is just a unit of measurement to measure resistances. If you see a higher ohm rating, then it means an atomizer has more resistance towards it. Hence the less use of power it will take to turn your vape tank on.
What is the major difference between the ohm level and coils when vaping?
Higher Ohm Coils
- Less vapor production
- Less e-liquid
- Slower battery usage
- Dry hits
- E-liquid finish faster
- higher vapor production
Lower Ohm Coil
- Dry hits
- E-liquid finish faster
- higher vapor production
Tip 3: Is a premade coil is beneficial?
Things to take into consideration when you are looking for a premade coil.
- You must get a coil that is compatible with your tank, it all depends on the manufacturer.
- The material of the coil is made out of (Kanthal, Nichrome, and stainless steel)
- Resistance of coil
- Wattage range
Compatible because you need to make sure it fits your vape device. The certain manufacturer doesn’t support other brands. So, you will end up with a coil that doesn’t fit your vape device.
Material because you need a specific type to vape Temperature control mode like stainless steel.
The resistance of the coil, Lower resistance heats up quicker and produces more vapor and the wattage range are dependent on the resistance. If you have higher resistance on a lower wattage, then it's better for MTL (mouth to lung) but vice versa is better for DL (direct to lung).
Premade coils tend to be expensive because you have to replace the coils every time they burn out. Although if you buy the materials to make your own coils, then you would be saving money by buying enough material to make your coils every time they burn out. It's just that you have to put in more effort to make the coils.
So check out tip number 5 in order to build your own coils.
Tip 4: Vape coil change.
To tell when to change the coils it's important to notice the flavor of your vape if it becomes burnt and tastes different. Also, if you are producing clouds with higher VG content e-liquid your wicking materials will burn out.
How do you change the vape coil?
- Separate the battery from the vape tank.
- Flip the tank to its’s bottom position.
- You will unscrew the bottom cap.
- Remove the coil by pulling or unscrewing depending on the brand.
- Then place the new coil by pushing or screwing.
- Don’t need to prime it.
- Put back your tank together by screwing your bottom cap.
- Then fill your tank up with e-liquid.
- Let it soak for 10 minutes.
- Then combine the tank with the battery and start enjoying!
Tip 5: What you need to build your own coil? (DIY VAPE COIL)
You will need:
1. Organic cotton wicking materials
2. Ohmmeter
Basic tools
- Wire cutters
- Ceramic tweezers
- Tiny screwdrivers
- Scissors
7 EASY STEPS TO BUILD YOUR OWN COILS
Step 1: Take the pliers and cut the wires by 8 to 10 cm.
Step 2: Wrap the coil around the screwdriver 4 to 8 times. A number of wraps create higher resistance. After wrapping it draw it out. It should be in a spiral shape and you can cut it the extra part out.
Step 3: There are many deck styles, like single-coil or 3 post design. Keep in mind the part with insulation around it is the positive side and another side is negative. Use an Allen key or a hex is usually provided Put one lead of the coil into the positive and one lead into the negative then you tighten it with a screwdriver.
Step 4: Put it all together then check with the ohmmeter or mod if the coils are firing together it depends if you have dual coils then they both should be firing together. But if you see only one fire TURN OFF, then check the positive or negative leads and tighten it.
Step 5: Add the wicking material. Slide the cotton through the coils make sure it's not too tight or too loose then.
Step 6: Use tweezers to adjust the cotton and it should settle in the coil. Tip, with RTA’s it's better to put less cotton than RDA’s and with RBA’s.
Step 7: At this point, you have to test out the coils and you can find the best coil equipment at coil master.
Tip 6: Learn how to clean your dirty vape coils.
Save money and save time by cleaning your coils. Your coils get messy because the VG and PG content in your e-juice has built up like gunk. Use the dry burning method to destroy the layers of gunk. Remove the wicking material (usually cotton) and fire up your vape device and get it red hot and glowing. Then dip the atomizer in the water and make sure the mod doesn’t touch the water. Then take off the coil head and wash it with warm water and you could use a toothbrush or any brush and lightly scrub off the top while running through the warm water. Take the coil head and wipe it down with a towel or tissues. Then attach the coil back on the vape device or mod and fire it up one more time.
Tip 7: How to Prime a Vape Coil
To avoid dry hits or burnt scratchy taste. So, you can get the good flavor right off the bat. You have to prime your coils. The significance of not priming your coil will give you a taste like burning paper which also has a nasty smell. So, read carefully even though it's pretty simple to do it so you can avoid the bad taste. You have to make sure the cotton is fully saturated. fill your tank up with e-juice and let the tank simmer for 5 to 30 minutes. Then you can soak the cotton with e-juice from the atomizer head. Better to do it from all the opening in the atomizer. Once the juice is just piled up on the cotton then you know it's fully saturated. After you have left it for priming. It's important to inhale or take puffs without firing up the device or powering it on. E-liquid ingredients show, how long you should prime your coils.
WHAT'S THE DIFFERENCE BETWEEN MTL AND DL COILS?
The resistance of the coil, Lower resistance heats up quicker and produces more vapor and the wattage range are dependent on the resistance. If you have higher resistance on a lower wattage, then it's better for MTL (mouth to lung) but vice versa is better for DL (direct to lung).
- MTL: This is due to less airflow and they are rated around 1.00 Ohm or above better with battery life and give huge amounts of Vapor.
- DL: It is under 1.00 Ohm or less which is sub-ohm although it gives out good flavor and vapor but finishes up the battery and e-liquid faster.
Best Vape Wire Brands for Coil
- GeekVape wire: is one of the best brands for building your own coils. It's very durable. Comes in stainless steel and kantal material. It knows for a good flavor, clean, and pure vaping experience.
- Vandy vape wire: Easy to wire to build with. It can easily be shaped and make coils bendable. It has a factor of heating up well so your e-juice can deliver its flavor. This comes in Kanthal, stainless steel, and ni80 material.
- Wotofo wire: also a great choice because of its longevity in vaping, it's very durable and also long-lasting. You can find it in ni80 material.
- Coilology: it's easy to use and comes in a variety of vape wire styles. It's super easy to build with.
- Coil Master: this is the best and the cheapest wire you will find for vaping and comes in kanthal material. You can get a regular wire or twisted wire spools.
Takeaway
At the end of the day building your own coils or buying premade is really just about how you like to get your things done. Both have great benefits and disadvantages. If you are happy with just getting the coiling equipment and vaping then yea but if you thrive to be creative then you always build your own coils. We just provide you with information while Preference comes down to you. You have to test things and see what makes your vaping journey fun and exciting.